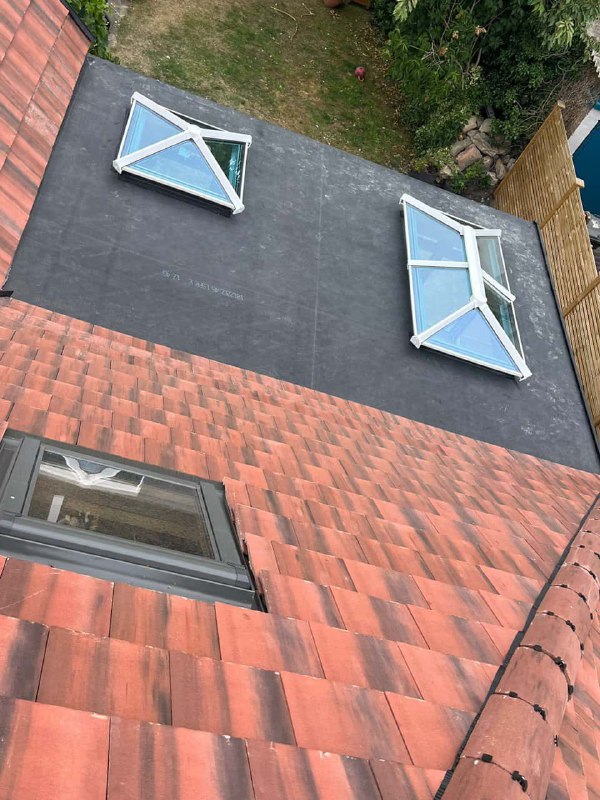
Ensuring Waterproof Protection: Properly Flashing Roof Penetrations During Hipped Roof Re-Roofing
Introduction: When undertaking a hipped roof re-roofing project, one crucial aspect that homeowners often overlook is the proper flashing of roof penetrations. Flashing is a waterproof barrier around roof openings, such as chimneys, vents, skylights, and pipes, preventing water infiltration and potential leaks. At ATY Roofing Mexborough, we understand the importance of meticulous attention to detail when it comes to flashing roof penetrations. This blog post will discuss the significance of flashing and provide essential tips for ensuring waterproof protection during hipped roof re-roofing projects.
1. Understand the Importance of Flashing
Roof penetrations, such as chimneys and vents, create vulnerable points in the roofing system where water can seep and cause damage. Proper flashing is essential to seal these openings effectively and prevent leaks. Flashing consists of metal strips or sheets installed around roof penetrations and integrated into the roofing material to create a watertight seal. Water can infiltrate the roof structure without adequate flashing, leading to mould growth, rot, and structural deterioration.
2. Choose Quality Flashing Materials
When re-roofing a hipped roof, it’s essential to use high-quality flashing materials that are durable and weather-resistant. Common flashing materials include galvanised steel, aluminium, copper, and lead. Each material has advantages and considerations, such as durability, corrosion resistance, and compatibility with roofing materials. Consult with your roofing contractor to determine the best flashing material for your needs and budget.
3. Properly Install Flashing
Proper installation of flashing is critical to its effectiveness in preventing water leaks. Flashing should be installed by experienced roofing professionals familiar with industry best practices and manufacturer guidelines. Flashing should be securely fastened to the roof structure and integrated with the roofing material using appropriate techniques, such as step flashing, counter flashing, and saddle flashing. Care should also ensure that flashing overlaps and seals tightly around roof penetrations to create a continuous waterproof barrier.
4. Inspect and Maintain Flashing Regularly
Even with proper installation, flashing can deteriorate over time due to exposure to the elements and thermal expansion and contraction. Regular inspection and maintenance of flashing are essential to promptly identify and address any signs of damage or deterioration. Inspect flashing annually or after severe weather events, and replace or repair any damaged or corroded flashing as needed. Additionally, ensure that the flashing is properly sealed and secured to maintain its effectiveness in preventing water infiltration.
5. Hire a Professional Roofing Contractor
Flashing roof penetrations requires specialised knowledge and skills only professional roofing contractors possess. When re-roofing a hipped roof, hiring a reputable and experienced roofing contractor with a proven track record of excellence in flashing installation is crucial. By entrusting your project to a qualified professional, you can ensure that flashing is installed correctly and effectively, providing long-lasting waterproof protection for your home.
Conclusion: Properly flashing roof penetrations is crucial in hipped roof re-roofing projects to prevent water infiltration and potential leaks. Experts are committed to delivering superior craftsmanship and attention to detail in all our roofing projects, including flashing installation. By following these essential tips and working with experienced roofing professionals, you can ensure that your hipped roof remains watertight and protected against the elements for years.
Call us on: 01709 803 086
Click here to find out more about ATY Roofing Mexborough
Click here to complete our contact form and see how we can help with your roofing needs.

